Understanding Injection Molding Prototypes
What Are Injection Molding Prototypes?
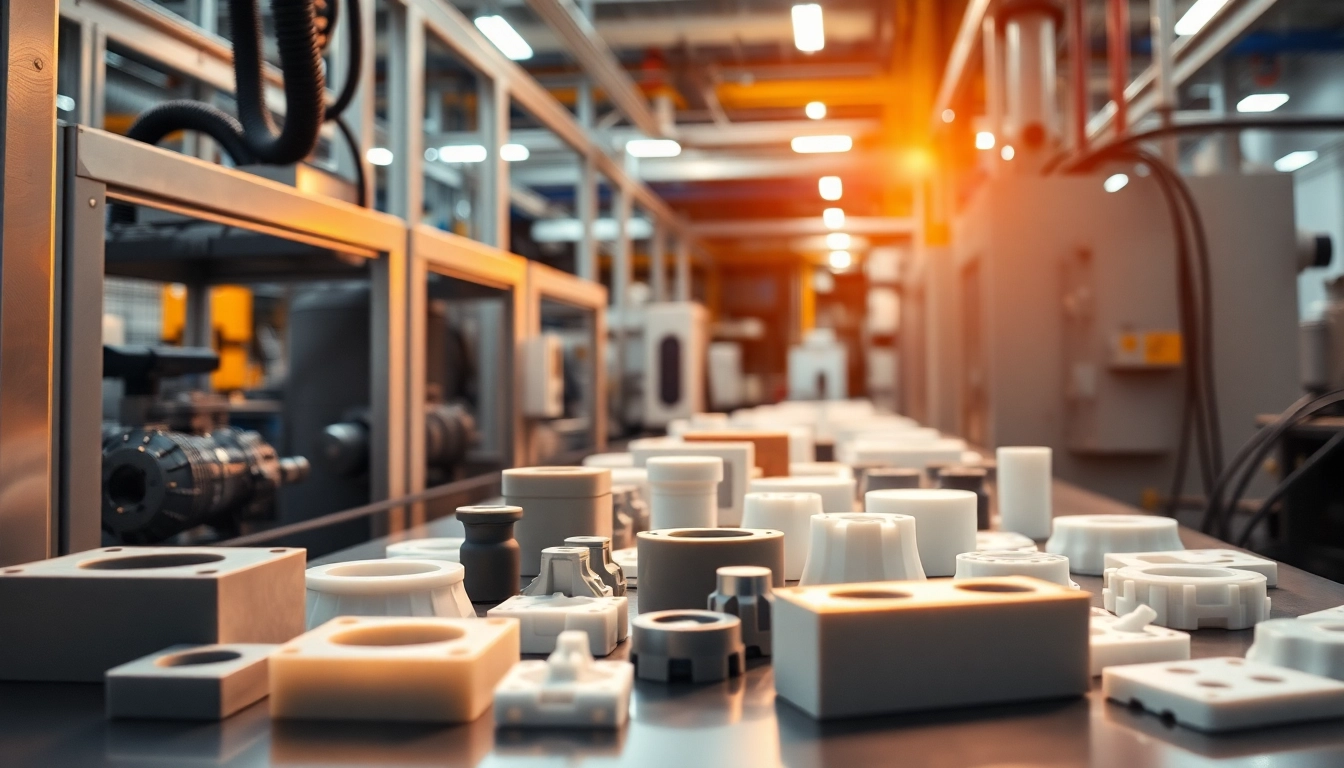
Injection molding prototypes are preliminary models created for testing and validating product designs using injection molding techniques. This process allows manufacturers to produce parts in a cost-efficient and time-effective manner, serving as a bridge between initial design and final production. Unlike traditional methods, these prototypes can closely mimic the properties of the final product since they are crafted using the same materials that will be used in mass production. This is crucial for assessing fit, form, and function before committing to a full manufacturing run.
The Importance of Prototyping in Manufacturing
Prototyping is a vital stage in the manufacturing process. It mitigates risks associated with production errors by allowing designers and engineers to identify design flaws early in the development cycle. Prototypes enable stakeholders to visualize products and evaluate their functionality, which is essential for enhancing performance and ensuring customer satisfaction. By relying on injection molding prototypes, businesses can optimize product characteristics and reduce time to market while maintaining quality standards.
Key Benefits of Injection Molding Prototyping
- Cost-Effectiveness: Utilizing injection molding for prototyping reduces the costs associated with traditional fabrication methods.
- Speed: The rapid prototyping process allows for quicker turnaround times, enabling firms to quickly adapt to market demands.
- Material Accuracy: Prototypes made through injection molding provide a closer representation of the final product in terms of both aesthetic and functional properties.
- Design Validation: Prototypes serve as tangible models that allow for real-world testing, enhancing the likelihood of successful outcomes during final production.
Types of Injection Molding Prototypes
Rapid Prototyping vs. Traditional Prototyping
Rapid prototyping involves quick fabrication of a model using techniques such as 3D printing or CNC machining, which can then be transitioned into injection molding for final replication. In contrast, traditional prototyping often relies on manual processing methods that can be time-consuming and costly. Rapid prototyping is favored for projects requiring flexibility and iterative testing, while traditional methods may be necessary for high-precision components where thorough evaluation is required before full production.
Soft Tooling Techniques Explained
Soft tooling is a technique used in injection molding that involves creating molds from materials such as aluminum or composite materials instead of traditional steel. This approach is beneficial for lower volume production runs or to produce prototypes that require less investment upfront. Soft tooling allows for quicker modifications in design, giving engineers and designers the opportunity to iterate rapidly and refine their products without the high costs associated with hard tooling. This flexibility can lead to significant time and cost savings during prototyping phases.
Material Considerations for Prototypes
Materials play a crucial role in the success of injection molding prototypes. Various factors, including tensile strength, elasticity, and chemical resistance, dictate the choice of material. Common materials used include:
– ABS (Acrylonitrile Butadiene Styrene): Known for its toughness and impact resistance. Ideal for prototype housing and consumer products.
– Polycarbonate: Offers high impact resistance and thermal stability, commonly used in electronic devices.
– PVC (Polyvinyl Chloride): A versatile plastic often used in plumbing and electrical applications.
– Polypropylene: Lightweight with excellent fatigue resistance, making it suitable for living hinges.
Steps in the Injection Molding Prototyping Process
Design and Engineering Phase
This phase encompasses the conceptualization and technical specification of the product. It involves collaboration between designers, engineers, and stakeholders to finalize technical drawings and 3D models. CAD (Computer-Aided Design) software plays a significant role in this phase by providing detailed digital representations of the product, which can be easily modified based on testing feedback.
Tooling Development for Prototypes
Once the design is solidified, tooling development begins. This includes creating the molds that will shape the final product. Different levels of tooling exist, ranging from simple single-cavity molds for prototyping to complex, multi-cavity molds for production. During this step, engineers consider factors such as cooling channels, ejection systems, and material flow to ensure optimal molding performance.
Production and Testing of Injection Molding Prototypes
With the tooling ready, the injection molding process is initiated. The selected material is heated until it becomes liquid, injected into the molds, and allowed to cool and solidify into the desired shape. After production, prototypes undergo rigorous testing for functionality, durability, and overall performance. Feedback garnered during this phase is invaluable, as it informs necessary design adjustments before full-scale production starts.
Best Practices for Successful Prototyping
Common Challenges in Injection Molding Prototypes
While prototyping offers myriad benefits, it is not without challenges. Common issues include:
- Material Limitations: Selecting the wrong material can lead to prototype failures.
- Design Flaws: Overly complex designs may compromise the mold’s functionality.
- Cost Overruns: Unexpected expenses can occur if prototyping doesn’t align with initial budgets.
Strategies for Cost-Effective Prototyping
To mitigate challenges, manufacturers can employ several strategies, including:
- Iterative Design Processes: Continually refining designs based on prototype performance can lower costs in the long run.
- Utilizing Soft Tooling: Opting for soft tooling techniques can significantly reduce initial investment costs while maintaining flexibility.
- Material Selection: Choosing lower-cost materials for early prototypes while saving premium materials for final production can strike a balance between quality and cost.
Optimizing Designs for Injection Molding
Optimizing designs for injection molding requires attention to detail:
- Simplify Geometry: Straightforward geometries make mold creation easier and less expensive.
- Incorporate Draft Angles: Designing with draft angles facilitates part removal from molds and enhances durability.
- Plan for Gates and Ejectors: Proper layout of gates and ejectors is critical for minimizing defects and improving mold efficiency.
Evaluating Injection Molding Prototype Performance
Key Metrics for Success
To assess the success of injection molding prototypes, several key performance indicators (KPIs) should be monitored:
- Dimensional Accuracy: Ensures the prototype adheres to specified dimensions.
- Mechanical Properties: Evaluates physical characteristics such as tensile strength and hardness.
- Surface Finish: A reflective indicator of aesthetic quality, crucial for consumer-facing products.
Feedback Loops and Iterative Improvements
Establishing feedback loops plays a crucial role in the iterative design process. Collecting input from stakeholders, including engineers and end-users, allows for continuous enhancements based on real-world use. Maintaining effective communication between teams can result in faster adaptation to any encountered challenges, effectively smoothing the path from prototyping to production.
Transitioning from Prototypes to Production
Once prototypes are optimized and validated, the transition to production can begin. This involves scaling up the manufacturing process, potentially investing in more permanent tooling solutions, and finalizing logistics and supply chains. Coordinated planning is necessary to ensure that the manufacturing process aligns with market demands and timelines, allowing for a seamless transition from prototype to full-scale production.


